WEBSITE GUIDELINES
Welcome to your website guidelines! We’ll be working with Squarespace, a platform built with ease and user-friendliness in mind. Its intuitive tools make website management accessible, even if you’re not a tech expert.
That said, there are just a few guidelines to keep in mind to make sure your site looks polished, performs at its best and on brand.
Let's dive into the essentials for a smooth, standout website experience!
ARCHITECTURE
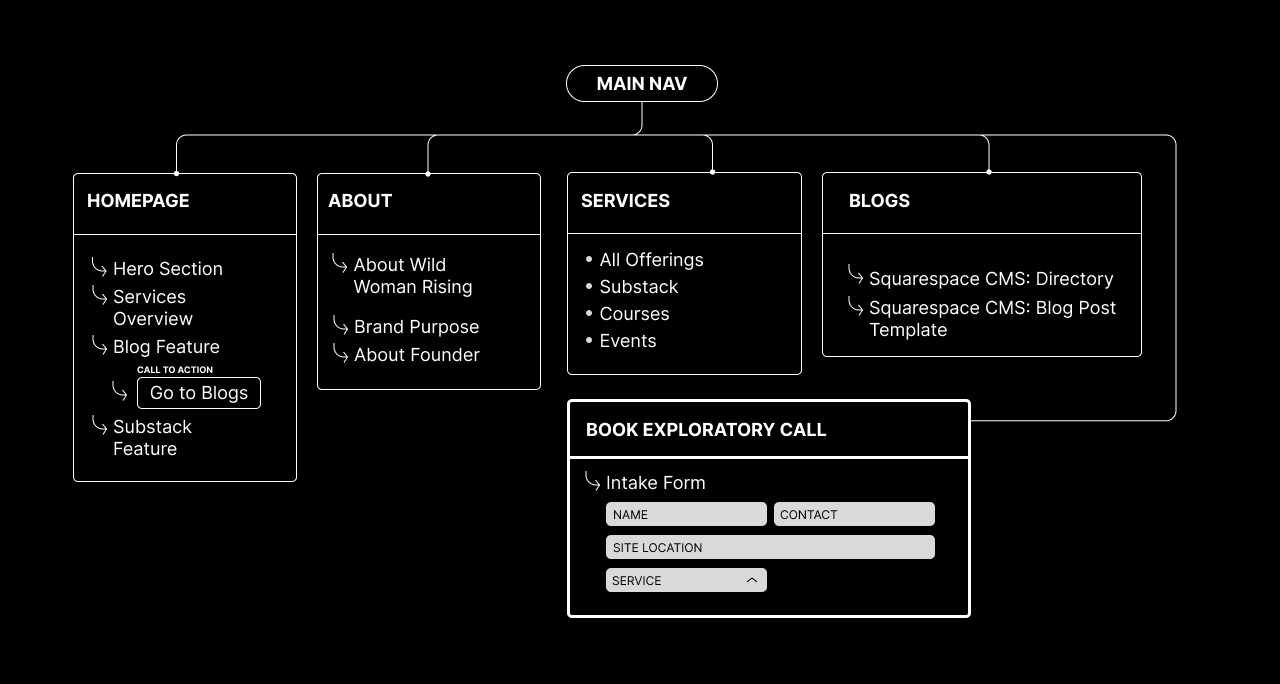
This is how the website navigation is structured. It should be intuitive and legible for your visitors.
SECTIONS
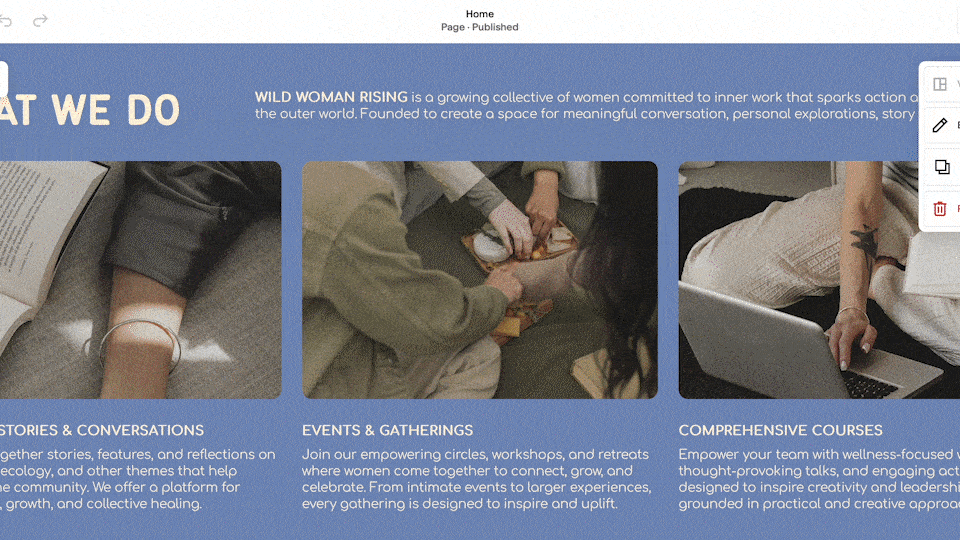
Squarespace organizes your website into sections, each acting as a flexible building block for your pages. Sections help you structure content visually, keeping your design neat and easy to navigate.
You can add, remove, or rearrange them effortlessly to control your page layout.
Need to add sections?
To keep everything structured and on-brand, you can duplicate any section as a starting point or create a fresh layout from scratch. This way, your design stays consistent.
For sections you use frequently, save them to your Saved Sections in Squarespace! This way, you can quickly add them to any page without rebuilding from scratch.
SITE STYLE
Site styles in Squarespace let you set a consistent look across your entire website, from fonts and colors to button shapes and spacing.
Keeping these settings helps maintain a cohesive brand feel, and any changes made in Site Styles automatically apply to all pages, keeping everything visually aligned with just a few clicks.
Note:
Your font suite is embedded in this website through CSS. Please read next section to see notes on CSS Code injections.
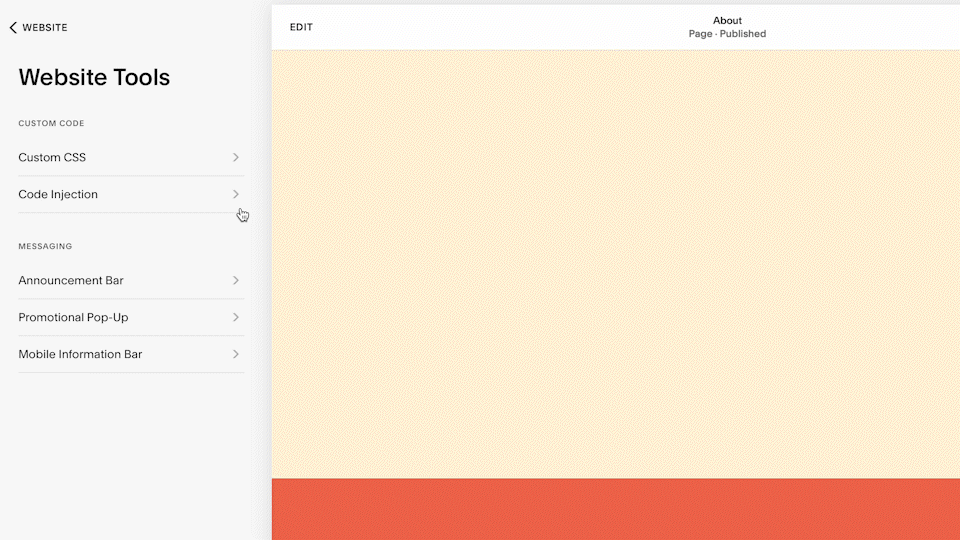
CSS CODE INJECTIONS
You might have noticed the CSS code section under website tools. While you’re welcome to add your own custom code here, be mindful of the existing code—it plays a crucial role in keeping certain parts of the website running smoothly.
Small tweaks can make a big impact, so please proceed with care! But in the event that you need a copy of this, your custom code is documented and stored in the brand assets drive sent to you.
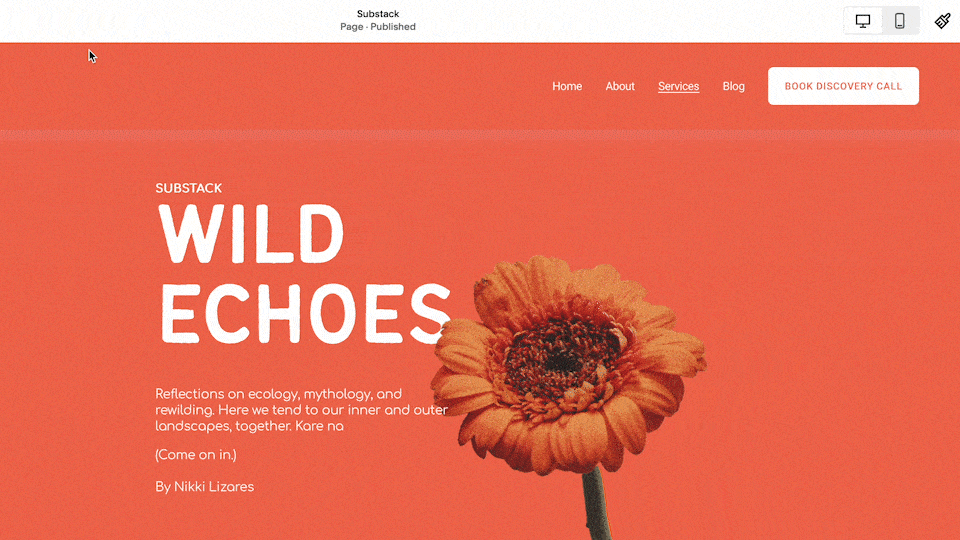
BLOGS
Blogs in Squarespace are designed with flexibility in mind, allowing you to create posts in a freeform style. You can mix text, images, videos, and other content to craft posts that are unique to your brand.
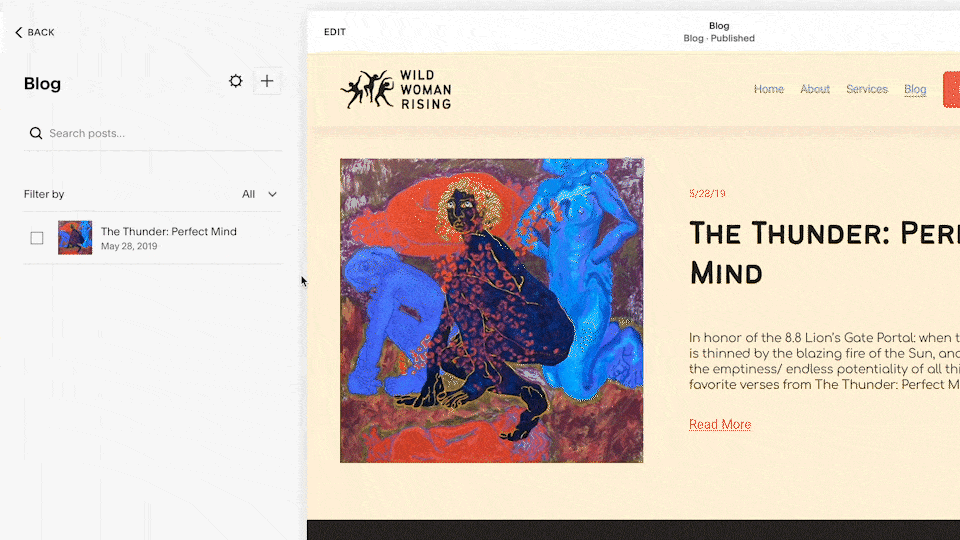
Adding a new blog
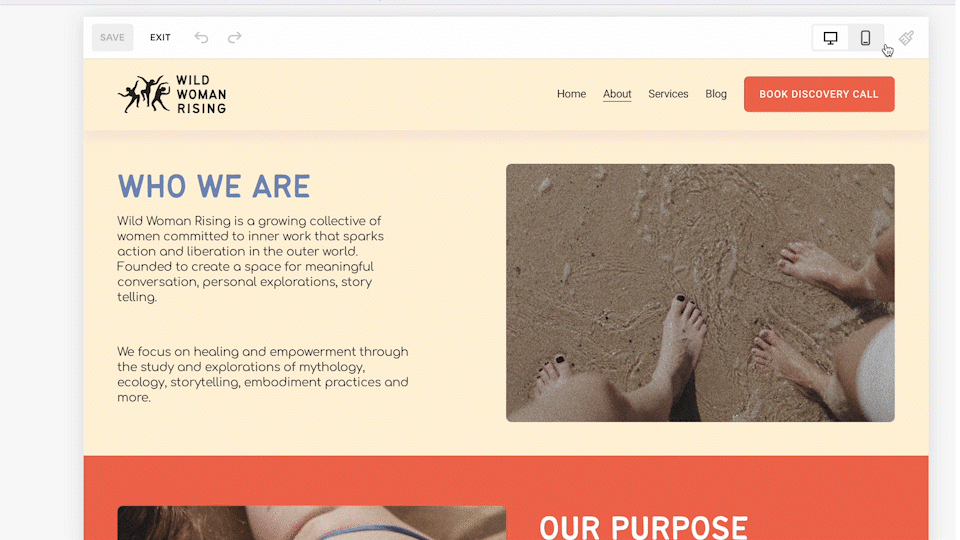
To post a new blog, you can duplicate this template that has been used as a placeholder. Don’t forget to publish!
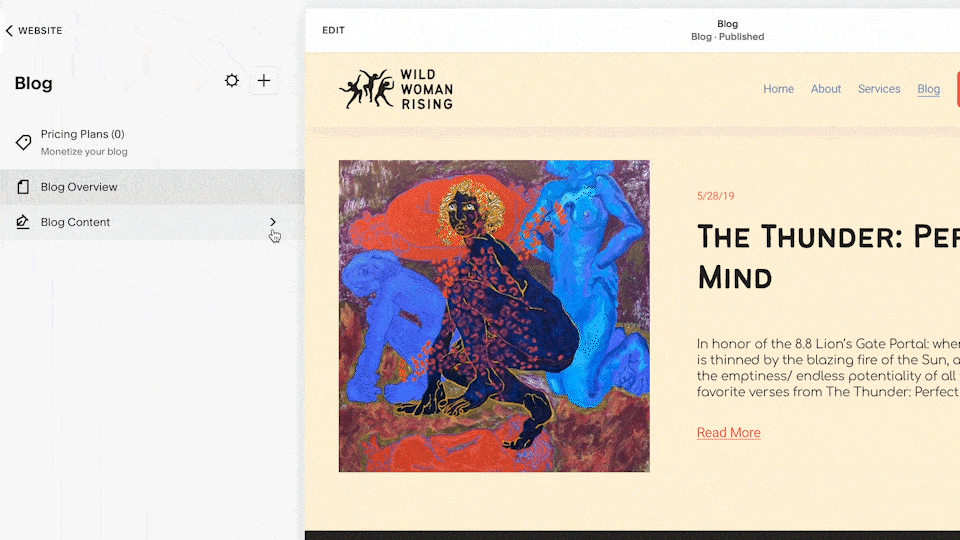
Blog Overview
The preview image and description of evert blog post can be set in the blog post settings as demonstrated on the right.
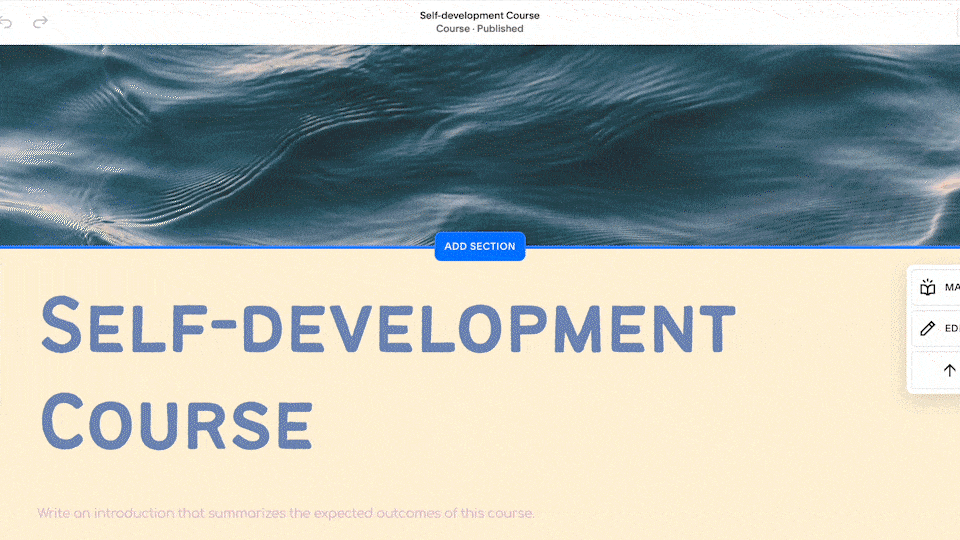
COURSES
Squarespace makes it simple to set up and sell courses directly on your site.
Note:
Create a Members Area
To host a course, first set up a Members Area so your students can log in. This allows you to create restricted content that only enrolled students can access.
Disable the pseudo page once your courses are live
You can disable the page in the page settings> toggle disable then enable your course overview.
Aside from the Members Area make sure that for every course, the paywall is enabled (unless it’s a free course)
The paywall can be set in installments or full payment.

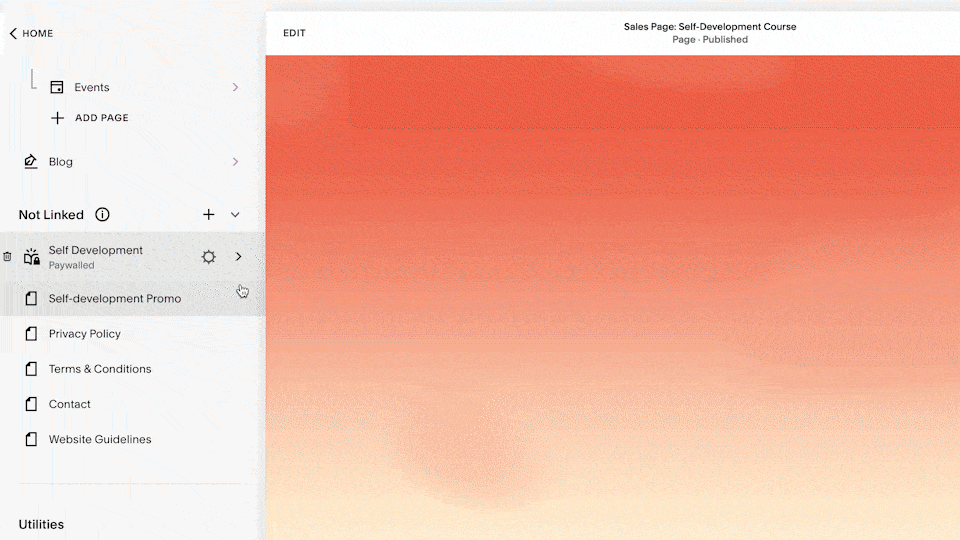
Sales Page for Courses
We've set up an optimized, one-page flow to help you sell courses seamlessly. Just fill in the placeholders on this template to make it your own.
Once you're ready, duplicate the page, grab the URL Slug from the page settings, and share it to your prospects. This way, they get a preview of the course content, benefits, and available payment plans—all in one convenient place.
Notes: Sales pages won’t appear in the main navigation. Instead, you’ll share the direct URL with your audience.
CALL TO ACTION
Every website needs a clear goal, which serves as our Call to Action (CTA).
It’s essential to define what we want from our visitors. At WWR, our goal is to generate leads through discovery calls. Visitors can either fill out an intake form to book a discovery call or book directly via a Calendly link.
Adding a calendly link instead of an intake form
To customize this on your site, simply disable the contact form and link the Calendly booking button to the main navigation for easy access.